I know the thought of concert photography excites a lot of people so I figured I’d answer some questions I’m frequently asked on how I do what I do. Concert photography definitely isn’t the easiest to capture; you’re on a 3 song time limit, you have to be prepared for all types of lighting and sometimes you’re put in tight situations.
General Info & Code of Conduct
- The Photo Pit, often a small section in front of the stage is barricaded off from concert goers to allow photographers the room to shoot with a clear view. There is a strict time limit to make sure we don’t block the paying concert goers for too long.
- 3 Songs, No Flash. Whether you’re new to concert photography or you’ve been doing it a while you’ve probably heard this rule. This is the standard rule for any show unless you’re shooting on behalf of the band themselves, respect it. Your flash distracts from the concert goers experience and interferes with other photographer’s images so don’t be selfish.
- Do not share photographs of your credentials, whether it’s a personalized pass, sticker that says “photo” or even your wristband, you’re creating security risks for future events & you’ve worked hard for those credentials, why give them away?
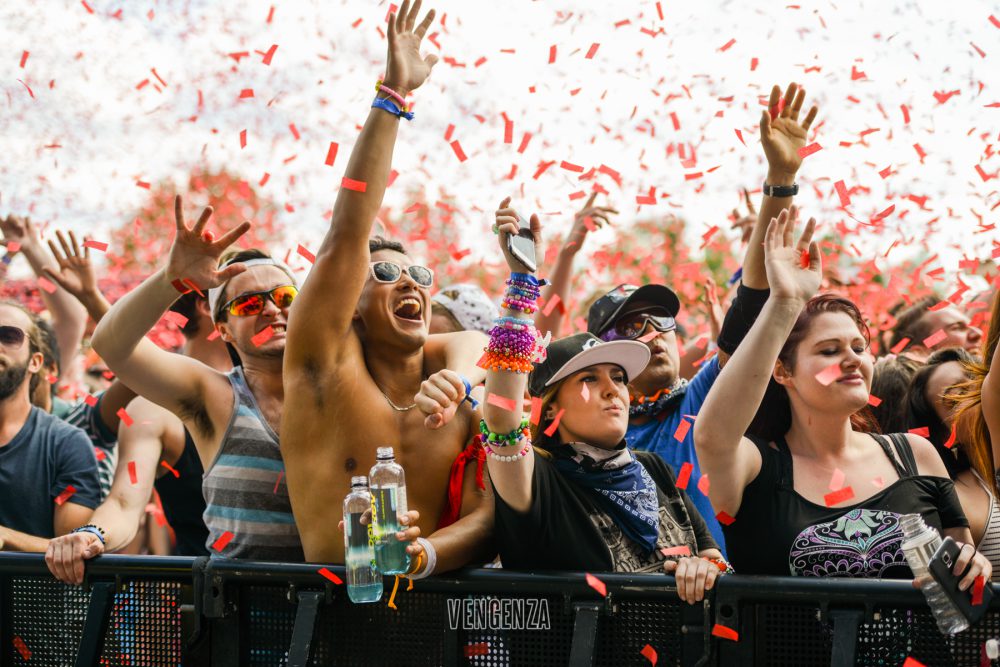
- Share the pit. We’re all there for the same reason so if you’re not the only photographer that night and you find a great spot, get your shot & move on. Also, Stop putting your arms up and getting in other photographers photos.
Venue Access Areas and Limitations
Sometimes when shooting at a venue you may run into a few rules on top of the 3 songs, no flash including but not limited to;
- No photo pit. In this case you’re either left to fend for yourself in the crowd or they’ll ask you to shoot from the sound board. Tips for shooting from a crowd, arrive early to get a spot near the front or bring a long lens.
- Balcony/VIP. Some venues have balconies and sometimes with a media pass they will allow you to go into these sections so you can get some neat angles. You never know unless you ask, and even if they say no you’re in the same position you were before!
Camera Settings
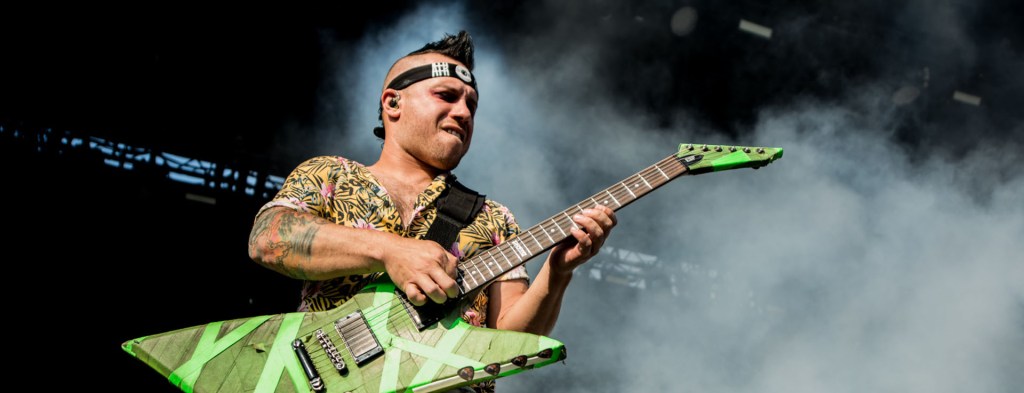
- I begin with my aperture, I love a nice bokeh so I shoot at f2.8, 99.9% of the time. I don’t like to shoot wide open at 1.4 although I have lenses capable of that only because your focus can be slightly off and I prefer a sharper image & I also find details can easily get blown own with an aperture that wide.
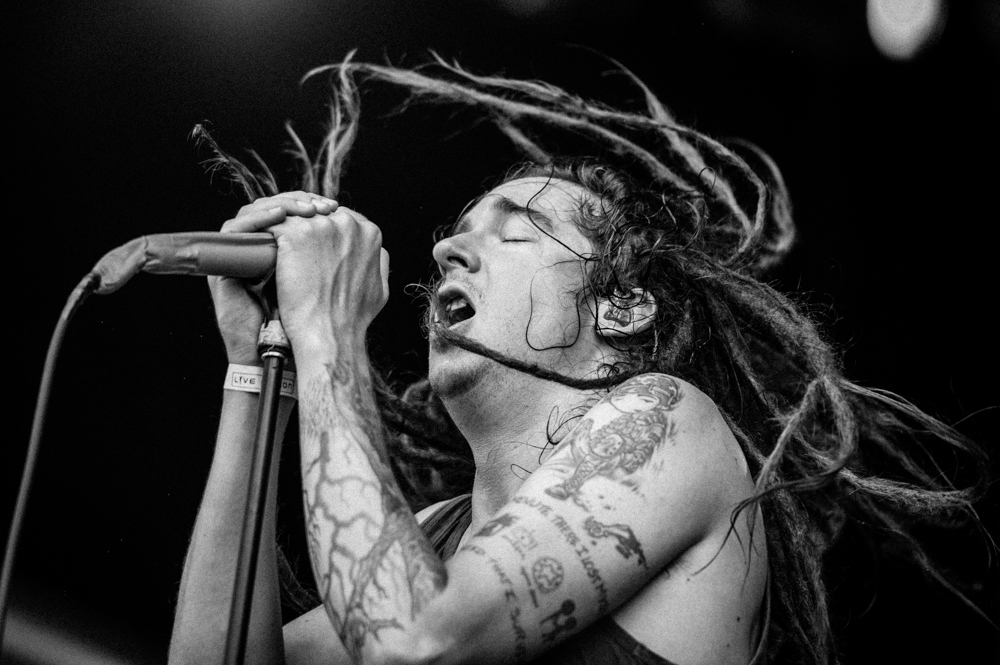
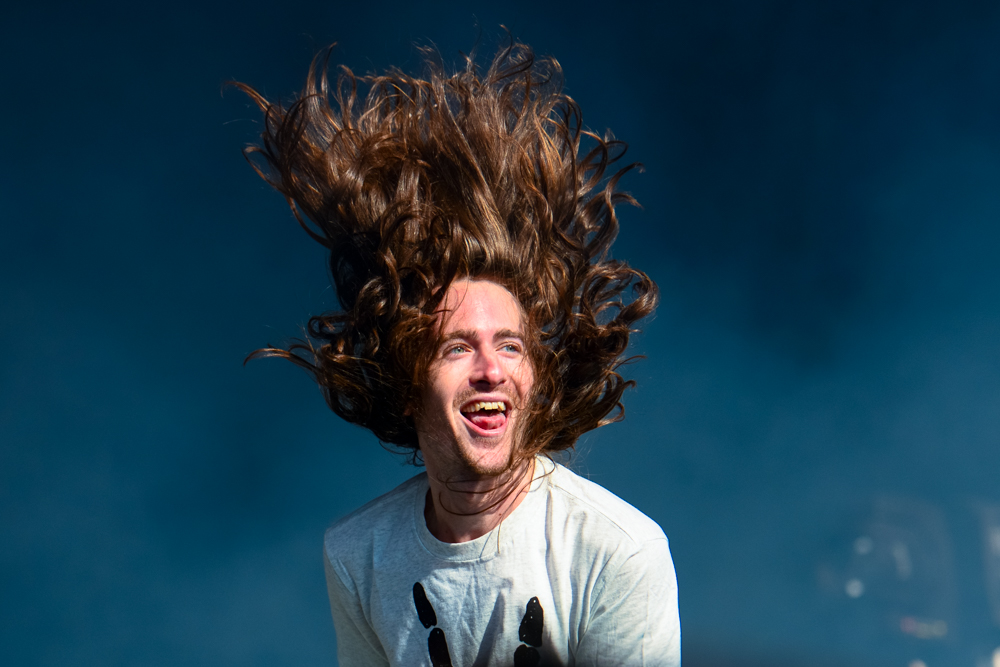
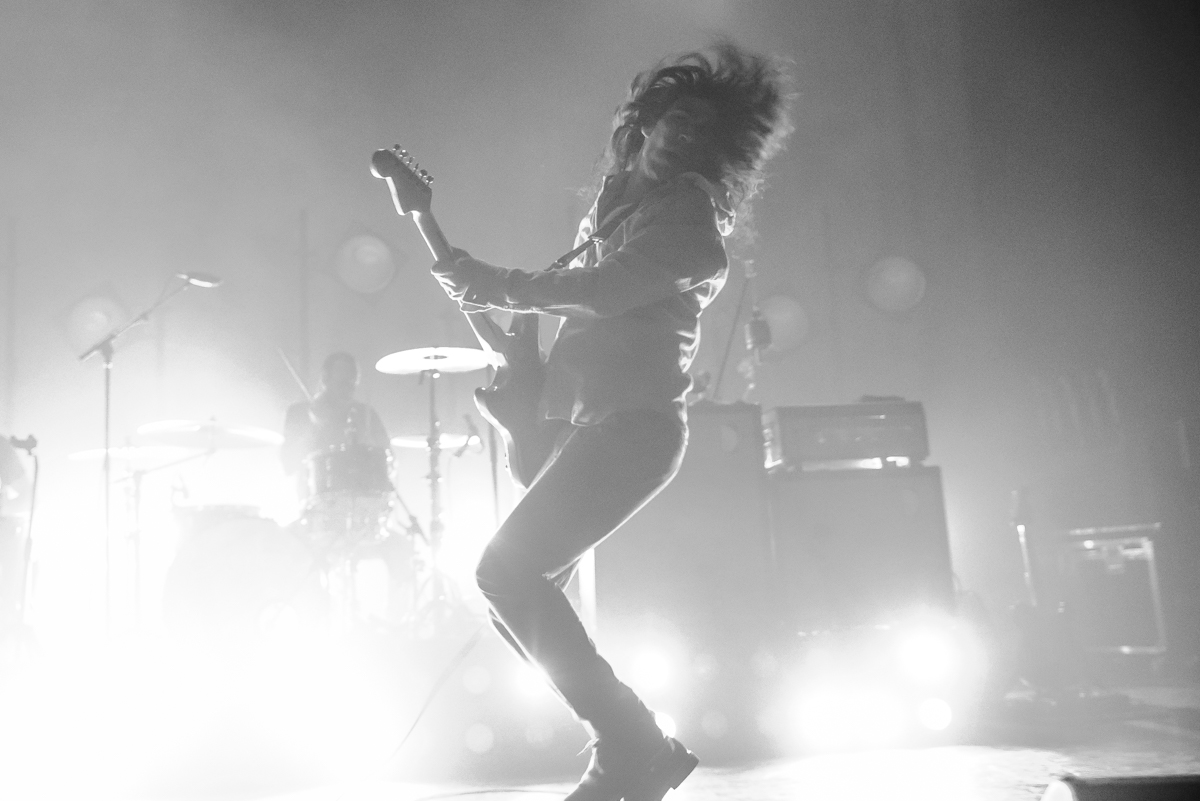
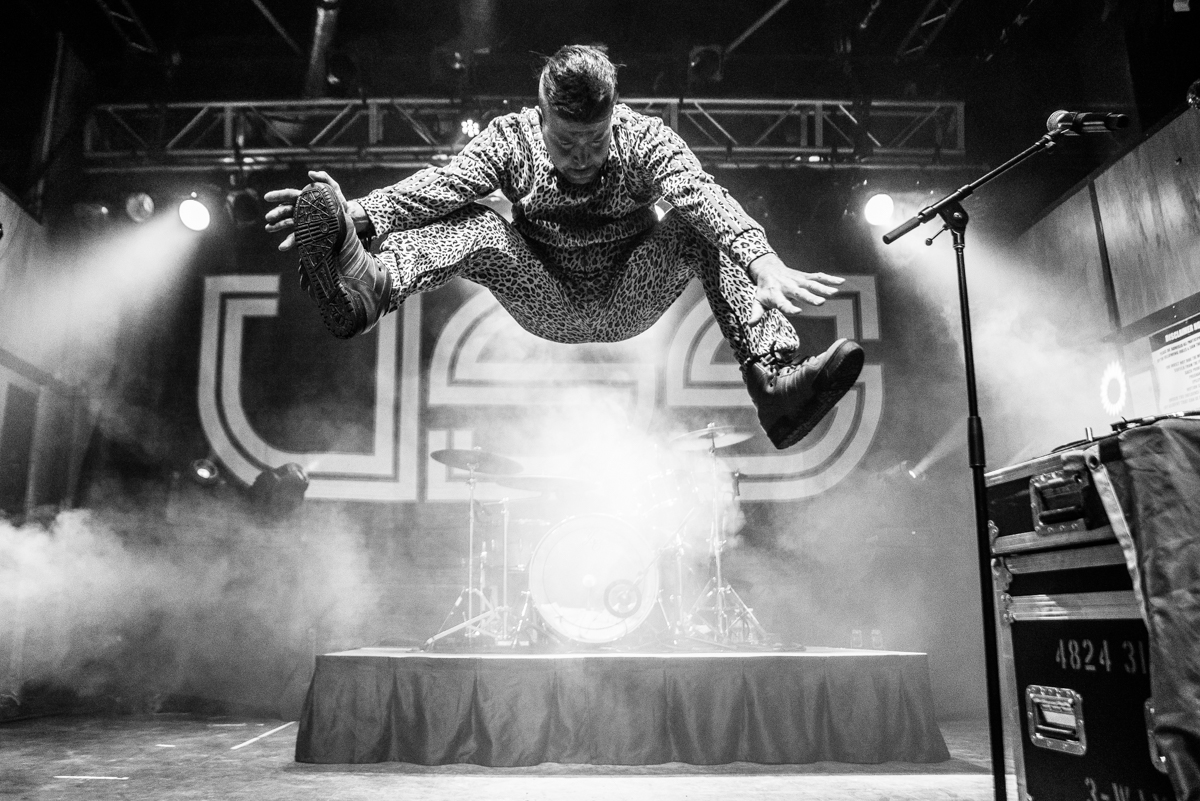
- I have two rules of thumbs for shutter speed, 1/60th is the minimum speed I shoot handheld and 1/200th if I want to make sure I capture motion shots. Sometimes even 1/200th of a second isn’t fast enough for hair flips so use this as a starting point.
- At this point you’re able to adjust your ISO accordingly & don’t be afraid to go up if you need to. I prefer a grainy image than a blurry image.
Lighting
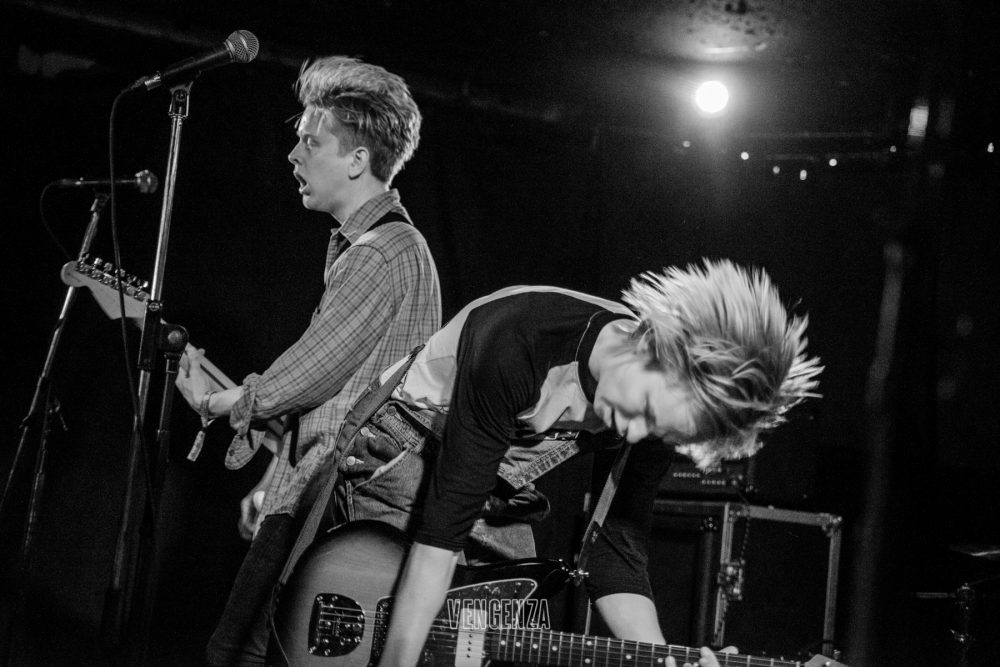
- Fixed Spot Lights: These are the easiest to work with and will find them in small bars/venues/clubs. When you have fixed lighting you can usually set your exposure after a single test shot and shoot based on when your subject is best lit. This can be frustrating but will teach you about patience, it’s all about waiting for the right moment.
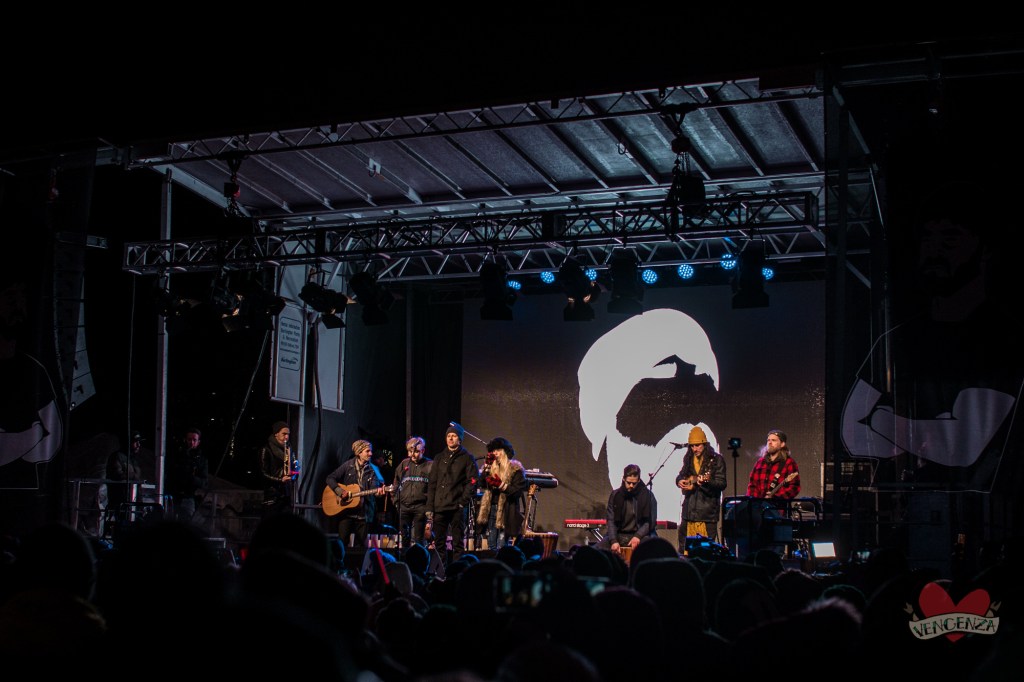
- Moving/Colour Changing Spot Lights: You’ll find these lights at most medium to large concert venues, with moving and colour changing lights you’ll find your camera’s light meter jumping all around. In cases like this I would use auto-ISO not to have to worry about my exposure when I’m focusing on the moments and my composition.
- LED Lighting: This is relatively new and I’ve only seen it in a few venues but a lot of bands now will even bring their own LED light panels to a show for audio synced lighting effects. It’s really cool but LED’s don’t sync well with your camera’s sensors. LED’s flicker so if your shutter speed is too fast you’ll get stripes across your images.
- The dreaded Block Red & Blue Lighting: I don’t know if this is official term but I’ve heard it on some of the photographer groups so I’m gonna use it. This is when all the lights all turn one colour, our camera sensors are particularly very sensitive to red and blue so if you ever find yourself in a situation like this, lower your ISO! You might not be able to correct the colours but you’ll at least get the details of your subject and it can lead to some cool effects.


So that’s it! I hope you’ve found these tips helpful. I’d love to know what you think, feel free to leave a comment below or e-mail me at shootme@vengenza.ca
Thanks so much for your time! If you’d like to see more, follow along on my photo adventures on instagram, @VENGENZAFOTOS.
xo jo